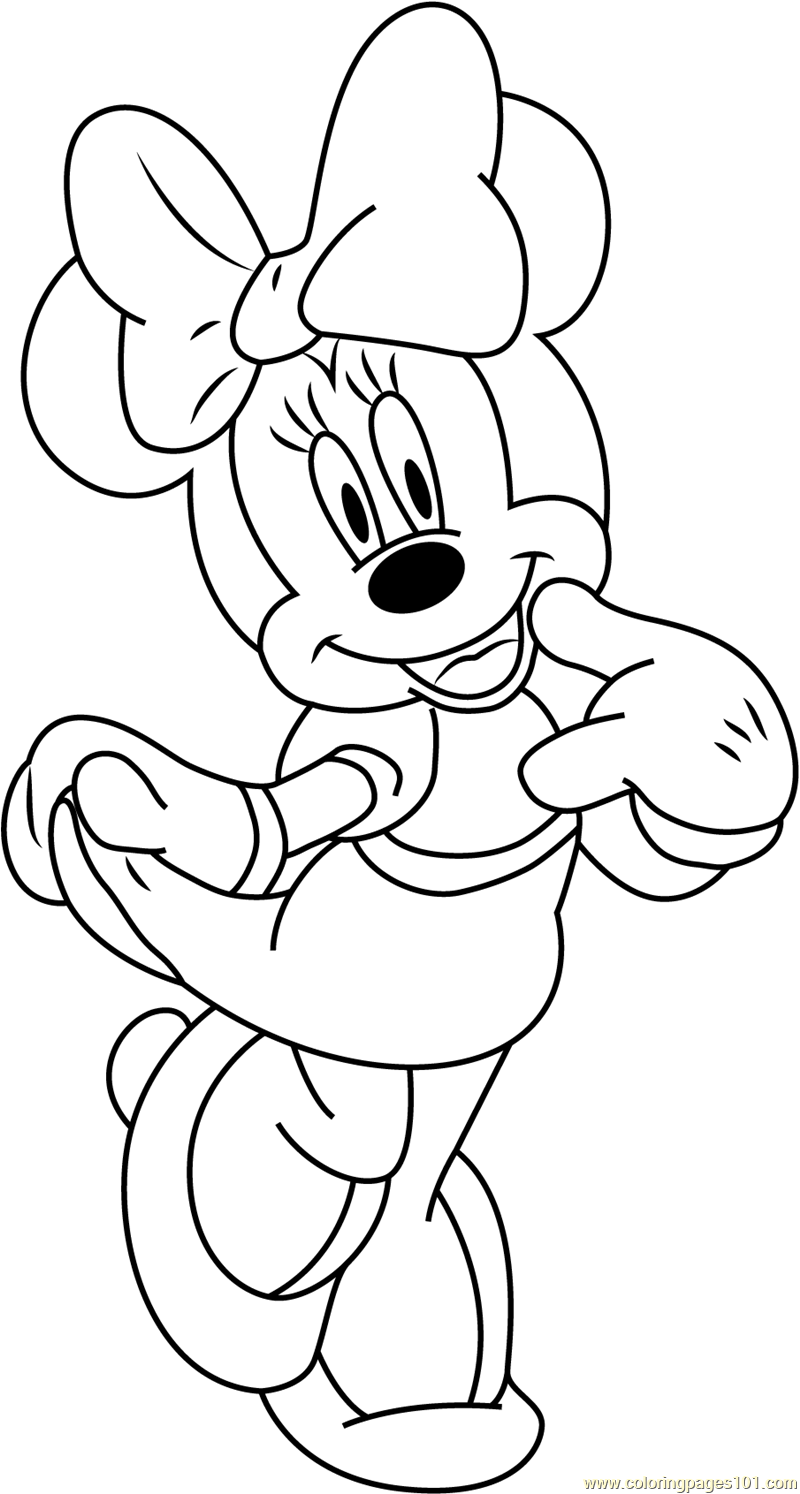
Minnie Mouse Outline Drawing
Minnie Mouse Outline Drawing - Outline shapes for the character’s gloves, shoes, nose and her bowtie. Mark off the width and height of the picture. Draw the outline of the character’s head and torso. Also included is a printable version of this lesson detailing a close up of minnie mouse’ face’s head. All images photos vectors illustrations 3d objects. Add guidelines for minnie’s body and head. Draw two small circles positioned on each side of the head for the ears. For each eye, draw three successively smaller ovals. For a more finished, inked look, carefully draw over the final sketch lines with a pen or marker. Draw the character’s second leg. Begin by drawing a circle as big as you want your minnie’s head to be. Outline shapes for the character’s gloves, shoes, nose and her bowtie. Expect 6 easy steps to follow, children will enjoy making minnie’s smiling face on paper. Draw the outline of the character’s head and torso. Add the outlines of one leg of the character. Outline shapes for the character’s gloves, shoes, nose and her bowtie. Make lines to form minnie mouse’s legs. 487k views 4 years ago #guuhdrawings. Add guidelines for minnie’s arms, legs and facial features. Then, use thick lines to draw eyelashes on top of each eye. Sketch two small oblongs for the eyes on top of the curved line. Add guidelines for minnie’s body and head. Add small circles for the pupils. Form a similar bumpy shape on the other side, completing the right loop. Wait for the ink to dry, and then get rid of every pencil mark with an eraser. Shade between the two smallest ovals to indicate the pupils. Draw a line through her figure. Web learn to draw a minnie mouse face by drawing along with this fun drawing guide. Outline the shapes below to form minnie mouse’s shoes. Draw two circles for minnie mouse’s ears. Ideal for art teachers and homeschoolers looking to instruct kids. Pause and replay as often as required. Begin by drawing a circle as big as you want your minnie’s head to be. New drawing tutorials are uploaded frequently, so stay tooned! Outline shapes for the character’s gloves, shoes, nose and her bowtie. Embodying the magic of disney, minnie mouse has charmed generations with her endearing appearance and timeless style. Depict the minnie mouse’s head as a circle, and add the torso below the head using broken, curved lines. Web learn how to draw minnie mouse. Draw a line through her figure. Draw the outline of the character’s head and torso. Attach a bumpy shape to the center knot to form the left loop of the bow.
Free Minnie Mouse Outline, Download Free Minnie Mouse Outline png
Minnie Mouse Outline Free download on ClipArtMag
Minnie Mouse Line Drawing at GetDrawings Free download
Wait For The Ink To Dry, And Then Get Rid Of Every Pencil Mark With An Eraser.
Add The Outlines Of One Leg Of The Character.
Web Draw The Outlines Below To Form Minnie Mouse’s Shoulders And Arms.
Add Folds By Drawing Curved Lines To Give The Bow A More Natural Look.
Related Post: