How To Repair Drawer Bottoms
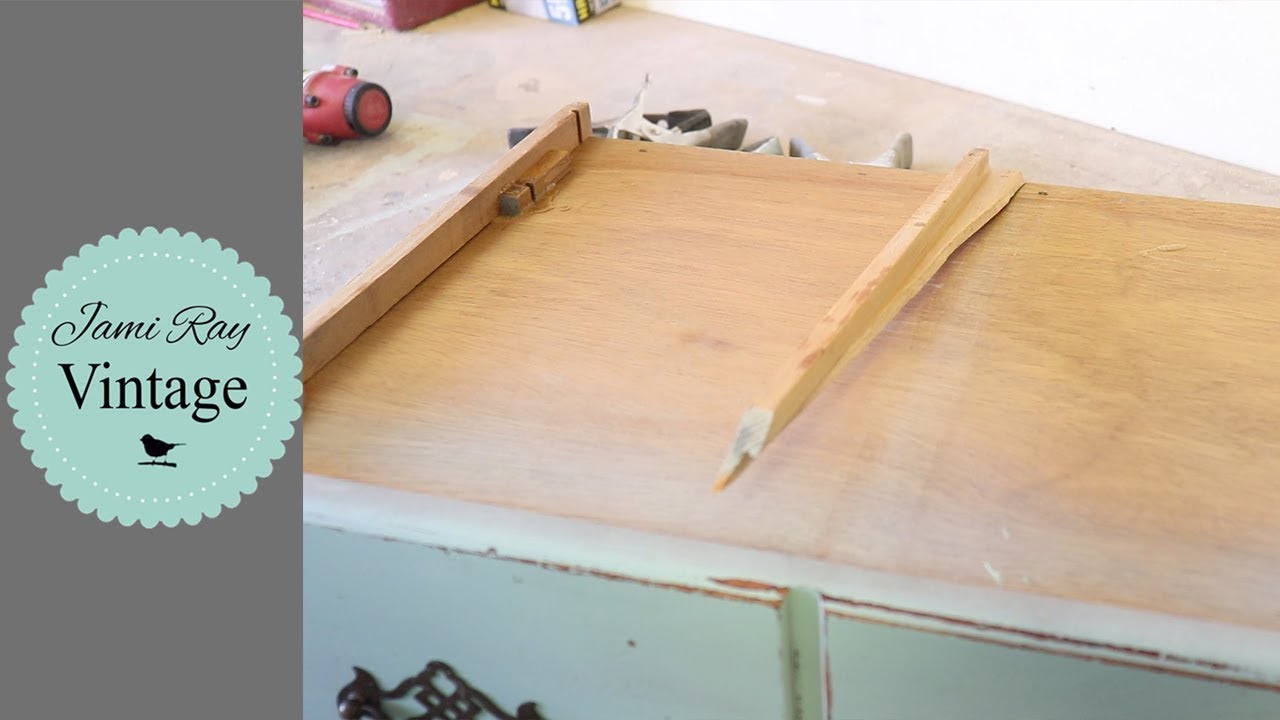
How To Repair Drawer Bottoms - Web in this tutorial, we’ll show you how simple it is to do a dresser drawer bottom replacement! Remove all contents of drawer (s). Web clockwise from top left: Web paintbrush or foam brush (if applying finish or paint) wood putty (for filling cracks or holes) replacement panel (if the bottom is beyond repair) Click here to extend more. Remove any extra nails, staples, splinters of wood etc. If broken or cracked, you can replace the bottom panel with thicker plywood. This tutorial shows how to replace the drawer bottom. You should be left with a nice groove where the new bottom will fit. This will make the repair process more accessible. Remove any extra nails, staples, splinters of wood etc. Have a broken drawer bottom or base? The drawer's sliders wear out. Before starting a drawer repair, empty the drawer and remove it for a thorough inspection. Click here to extend more. Web do you know how to replace a drawer bottom or do other repairs to furniture before painting them? Here is an easy way to prevent the bottom of your drawer from. Web in this tutorial, we’ll show you how simple it is to do a dresser drawer bottom replacement! If it’s held in place with screws, simply unscrew them. Then lubricate the drawer guides and the top and bottom edges of the sides with stick lubricant, wax from a candle, paraffin, or silicone spray. It’s usually in the middle front of the drawer. Place on top of carpet, rug, towels, or a tarp to protect drawer front from scratches. You should be left with a nice groove where the. Prop it up with this fix. By chris deziel updated august 23, 2018. Do not use a petroleum lubricant; Web inspect where the sag is occurring. Remove the drawer from the dresser and place it on a flat, stable surface. This tutorial shows how to replace the drawer bottom. Have a broken drawer bottom or base? It’s usually in the middle front of the drawer. We replace a curved front dresser drawer (square drawers are a breeze!). It’s a common malady that strikes furniture drawers, especially wide ones with bottoms made of thin hardboard or plywood. Place on top of carpet, rug, towels, or a tarp to protect drawer front from scratches. This will make the repair process more accessible. Remove all contents of drawer (s). For other kinds of handle repairs, epoxy might work well, or. Then lubricate the drawer guides and the top and bottom edges of the sides with stick lubricant, wax from a candle, paraffin, or silicone spray. This is the most critical step to ensure the wedges work correctly.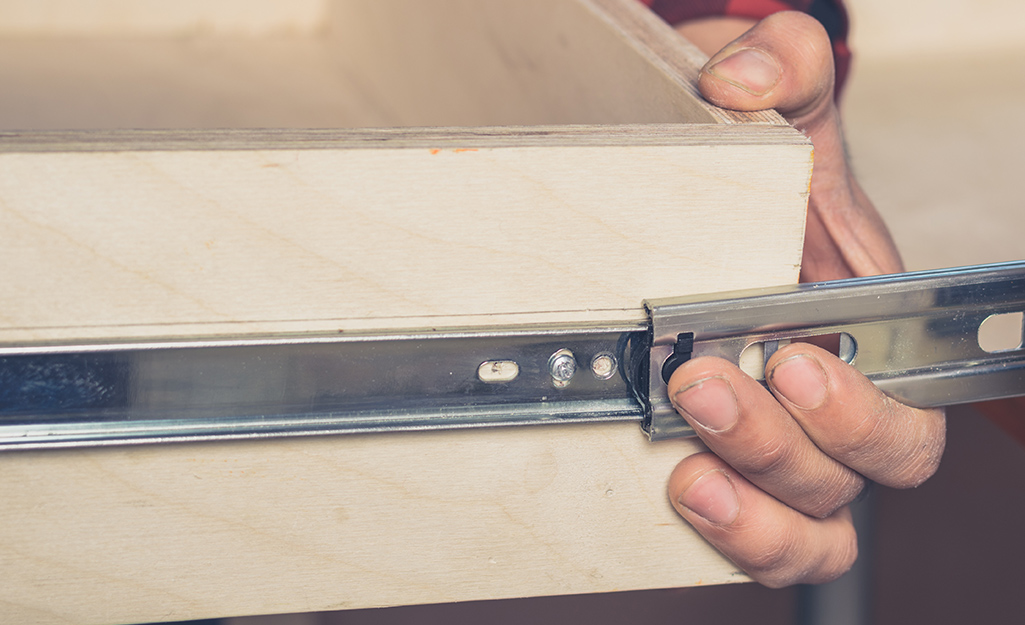
How Do You Rebuild Kitchen Drawers?? THEKITCHENKNOW
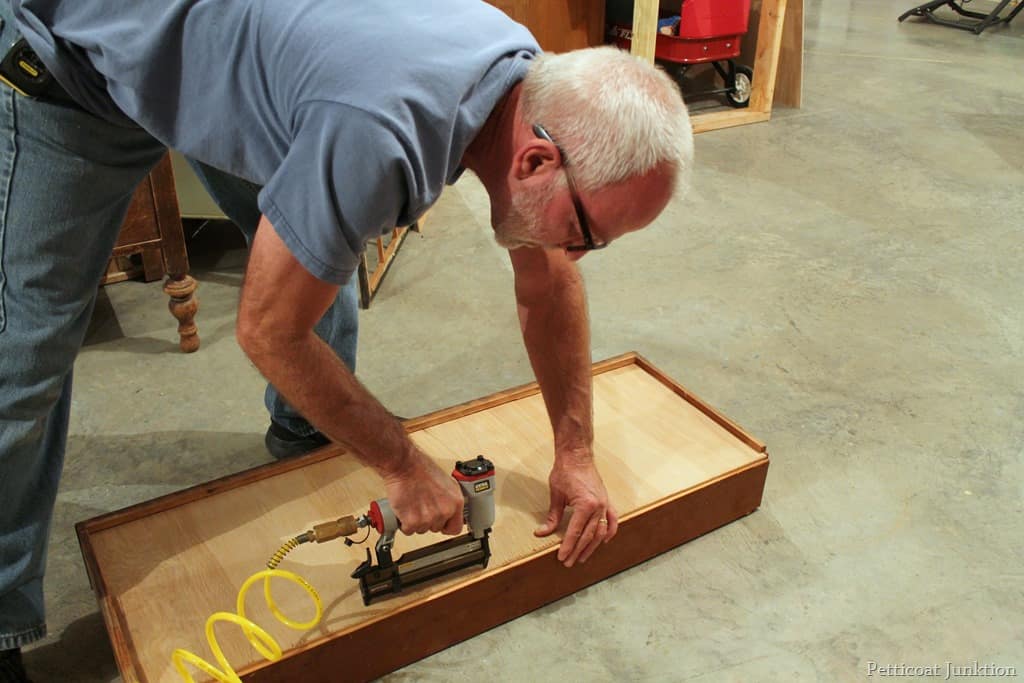
How To Replace A Drawer BottomFurniture RepairPetticoat Junktion
How To Repair Dresser Drawers Drawer Slides You
Cutting The New Plywood Bottom On The Table Saw.
Web Drawers Fall Out Due To The Bottom Panel Becoming Loose From Its Frame Or Supports.
Web © 2024 Google Llc.
Web First, Make Sure The Joints Are Tight.
Related Post: