How To Draw Ears Step By Step
How To Draw Ears Step By Step - This is how we demarcate the area that we will draw the ear within. Using guidelines helps us develop a system for playing with different character designs, once you get comfortable with a more normal size ear you can easily change it just by adjusting the initial guideline. What we want to do first is a shape that turns into an ear sketch. Ear front view outer shape construction drawing. This line will be your centerline. The finished ear drawing will eventually be shaped like a kidney bean. Rewatch the lesson to review all the anatomical details. When it comes to breaking down the surface anatomy of the ear, the helix is a great place to start because it allows you to define the overall contour of the ear before sketching in the remaining shapes to detail it out. This will form the outer edge of the ear, and once you have it drawn we can move on to the next part! The ear is somewhat a circular feature, this is why we begin with the circle as our basic shape which we then refine into an ear sketch. Start by drawing a simple curve shape for the ear. Outline the shape of the ear making sure the bottom part of the ear (ear lobe) is smaller in proportion to the top part of the ear (known as the helix). The finished ear drawing will eventually be shaped like a kidney bean. 708k views 6 years ago how to. This gives a nice soft shading effect to the ear sketches. We start by showing some quick and easy ear sketches using a pen and a water brush. Assignments 107 lesson notes downloads 3. Web add a rounded triangle to the bottom of the oval for the head. This will form the outer edge of the ear, and once you. Web how to draw ears: Learn how to draw realistic ears for beginners with this easy to follow step by step drawing tutorial. These shapes serve to give the ear a basic structure. We start with a circle or an oval with our h pencil. You will be using this shape as a reference to develop an actual human ear. We start by showing some quick and easy ear sketches using a pen and a water brush. Draw in the details of the rim of the ear, notice how in the example we can see that on the left side the line curves in towards the middle. The first step to drawing an ear is to sketch the basic shape. You can then use this linear framework to gradually build up its complex form with tone. These visuals will help you become a pro at drawing ears, and teach you how to draw ears step by step. You will be using this shape as a reference to develop an actual human ear within your rough oval shape. Creating the shape of your ear drawing. However, your foundation lines will start with a more circular! When it comes to breaking down the surface anatomy of the ear, the helix is a great place to start because it allows you to define the overall contour of the ear before sketching in the remaining shapes to detail it out. These shapes serve to give the ear a basic structure. Draw the bumps and folds. Setting up guidelines for the drawing will make it much easier to develop a process that works at multiple angles. Outline the shape of the ear making sure the bottom part of the ear (ear lobe) is smaller in proportion to the top part of the ear (known as the helix). Rewatch the lesson to review all the anatomical details. As i begin to sketch out the ear i like to begin with the helix. Web how to draw ears:
How to draw an ear from the front in 11 steps RapidFireArt
How to draw an Ear Step by Step Ear Drawing Lesson

How to Draw Ears 6 Steps (with Pictures) wikiHow
17K Views 5 Years Ago.
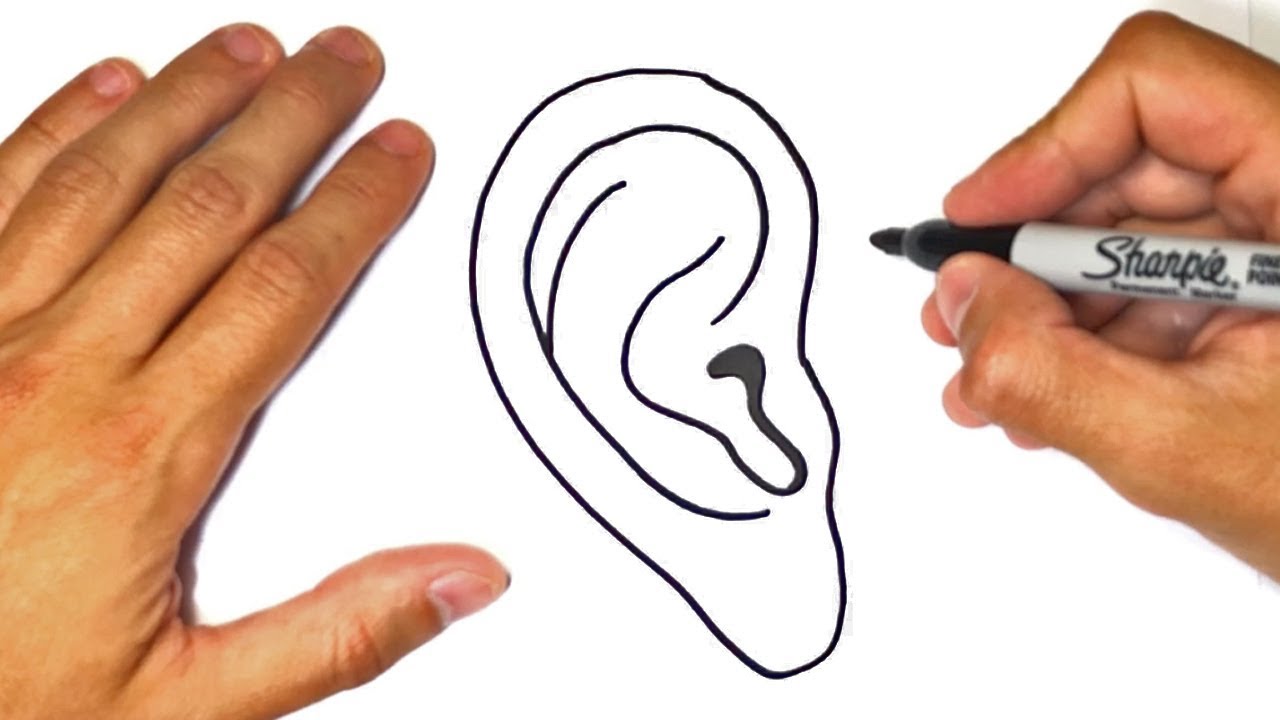
Next, Sketch The Inner Ear By Drawing Another Curve Shape Inside The First Curve.
You Need To Organise Its Irregular Shape Into Some Basic Forms That Are Easier To Outline.
Take A Picture Of Your Own Ears Or Find Some Good Photos Online (Get Some With Clear Light And Shadows).
Related Post: