How To Draw A Tie Easy
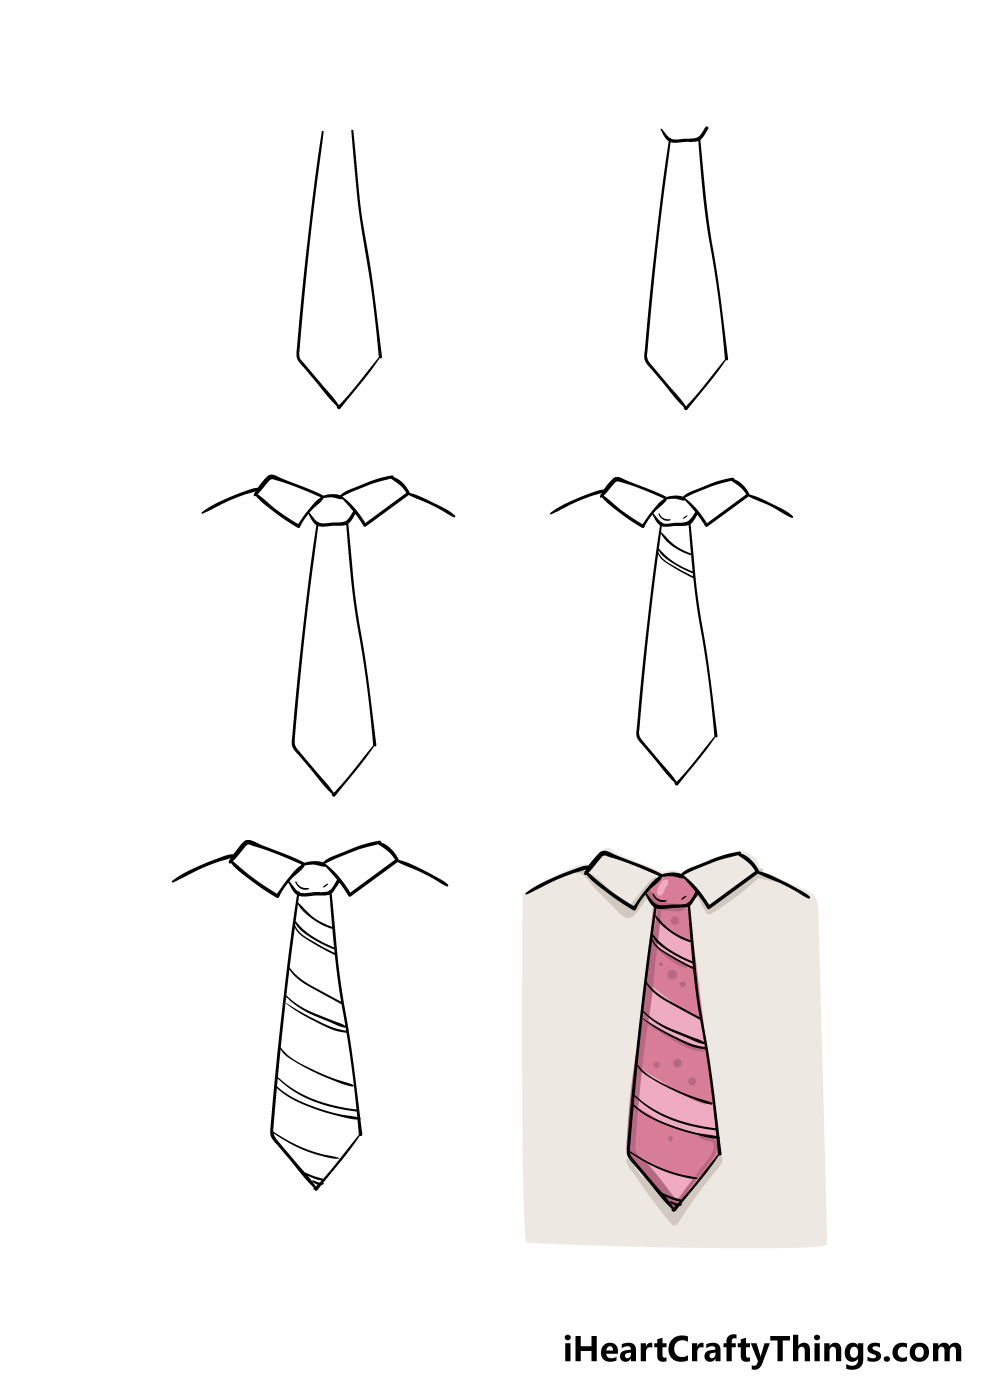
How To Draw A Tie Easy - Drape the tie around your neck. #drawing is defined in many ways. This tutorial shows how to draw a tie in six steps. Web how to draw a tie step by step. Add two lines on either side of the rectangle to create the folds of the tie. Before we get started, get your drawing supplies together. How to draw a bow tie. Hang the wider end of the tie on your right side, with the narrow end about 12 inches (30 cm) higher on the left. Draw this cute tie by following this drawing lesson. Include some curved lines to show folds and creases; Draw the outline of the tie. A professor i had in college used to tell me that if someone won’t listen to what you have to say because you’re not wearing a. Tyler volearn how to draw more at: Begin with a light sketch using simple shapes, such as rectangles and ovals, to establish the overall structure. Drawing is a. Tie drawing step by step. Begin with a light sketch using simple shapes, such as rectangles and ovals, to establish the overall structure. Then, draw a slightly larger oval around the first one. Hang the wider end of the tie on your right side, with the narrow end about 12 inches (30 cm) higher on the left. Get the markers. The good news is that while it can be harder than expected, it’s made much easier when you have some steps to follow! Many of our lessons are pe. We're going to learn how to draw a bow tie. Drawing a neck tie is #easy. Draw a small triangle for the tie’s knot; This tutorial shows how to draw a tie in six steps. A professor i had in college used to tell me that if someone won’t listen to what you have to say because you’re not wearing a. How to draw a bow tie. 39k views 6 years ago. Start by drawing a basic outline of the body. Tyler volearn how to draw more at: Get the markers here =. This will represent the collar of the tie. Drawing is a popular concept over the world. Draw the center knot of the bow tie. Adjust the length of the line according to how long you want your tie. Make sure that the ovals are evenly spaced. This line will serve as the backbone of your tie. Begin with a light sketch using simple shapes, such as rectangles and ovals, to establish the overall structure. Draw the other side of the bow tie using a long, curved line. Then, draw a slightly larger oval around the first one.
How to Draw a Tie Step by Step EasyLineDrawing
Tie Drawing How To Draw A Tie Step By Step

Easy Step For Kids How To Draw a Tie YouTube
Web Collect Materials And Equipment:
Draw A Third Oval Around The Second Oval.
Start Drawing The Side Parts Of The Tie.
This Will Form The Knot In The Center Of The Bow Tie.
Related Post: