How To Draw A Bow Tie
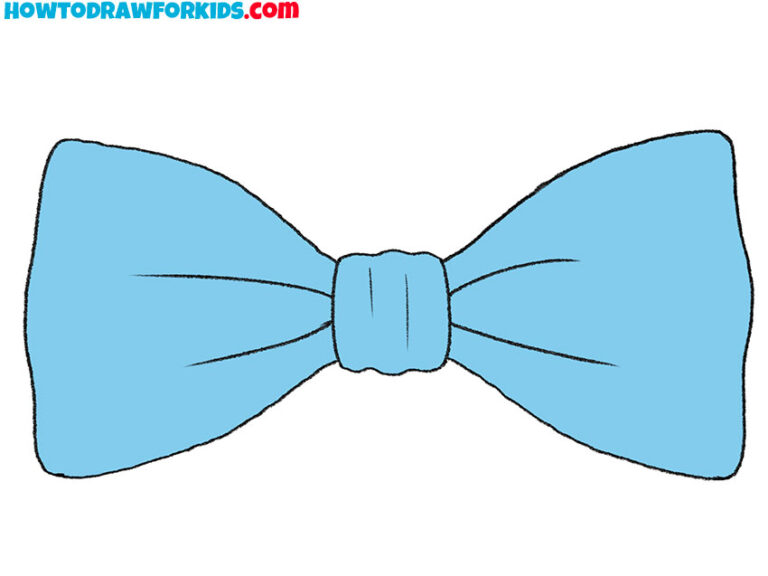
How To Draw A Bow Tie - Sketch two long, slightly curved lines extending from the knot for the tie’s body. Picture your little boy showing off his own bow ties, maybe even ones he made himself. Draw two symmetrical lines from the knot, as shown in the example. Apply your illustration to all kinds of crafts and projects. This forms one side of the bow tie. This will form the knot in the center of the bow tie. Drawing a bow tie is an effortless craft that anyone can master. So let’s grab our pencils and get started! Draw a long, curved line extending from one side of the knot. Sketch two triangles on either side of the line for the bow’s loops. Web how to draw a bow tie. Web this tutorial shows how to draw a bow tie in six steps. Drape the tie around your neck so one side is longer. How to draw easy drawings. Add smaller triangles for the bow tie’s tails. Web how to draw a bow tie. Add smaller triangles for the bow tie’s tails. Web this tutorial shows how to draw a bow tie in six steps. To begin drawing a bow, it is essential to start with basic shapes as a foundation. Start by drawing a rounded shape like the one above. By breaking down the bow into simple forms, you can easily establish its structure and proportions. Web so, grab a sheet of paper, a good eraser, and a pencil, and let's get started! Next, add wrinkles and folds to give the bow tie more dimension and detail. Learning how to draw a bow tie is very simple! Customize your bow. Web how to draw a bow tie. Add a pointy tip at the end of the body. Another free still life for beginners step by step drawing video tutorial. How to draw easy drawings. Add the other sides of the knot. Sketch two triangles on either side of the line for the bow’s loops. From one side of the rectangle, draw a diagonal line going out and up, then curve it down to create a large, wide triangle shape. Web look no further! So let’s grab our pencils and get started! Include some curved lines to show folds and creases. Draw two symmetrical lines from the knot, as shown in the example. They've been a fancy clothing item for a very long time, all the way back to the seventeenth century. There are an endless number of ways you can draw a bow. Customize your bow tie with different colors, patterns, or styles. This forms one side of the bow tie. Bow tie drawing step by step.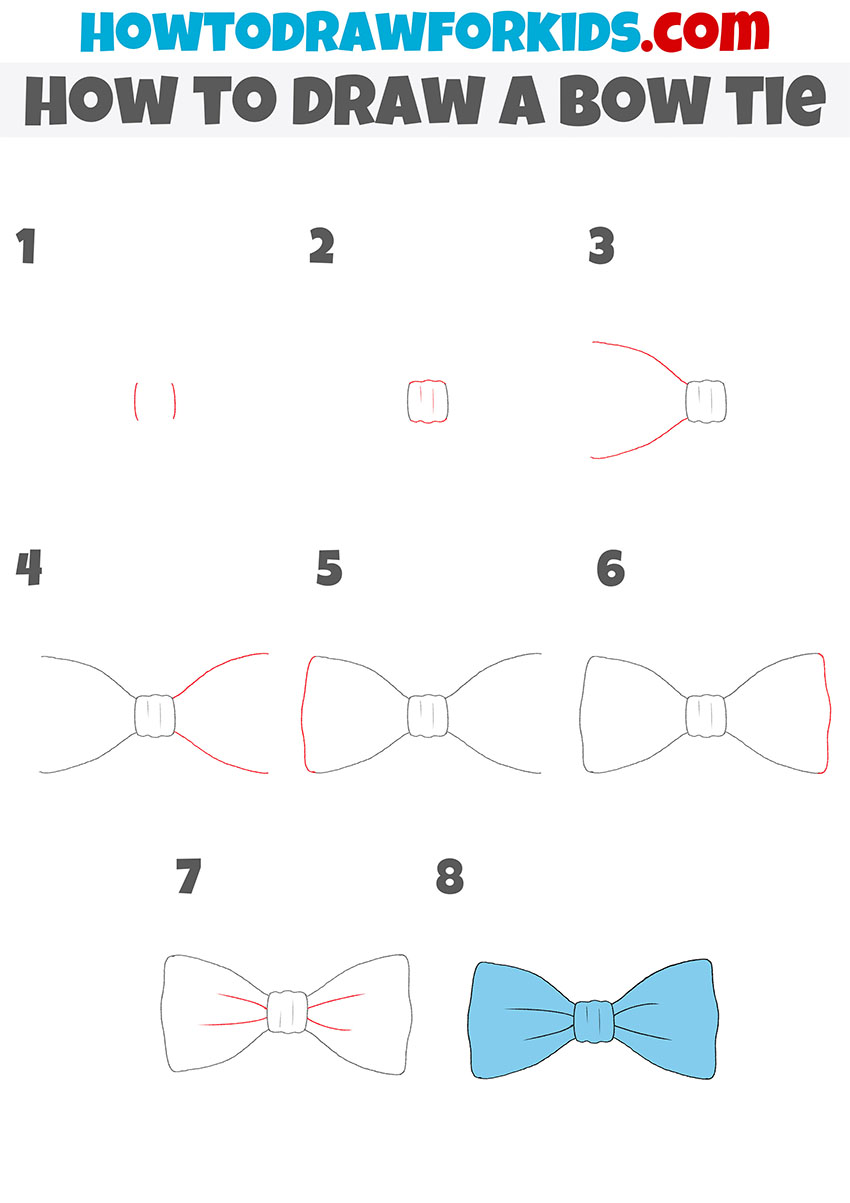
How to Draw a Bow Tie Easy Drawing Tutorial For Kids

How to Draw a Bow Tie Really Easy Drawing Tutorial
How to Draw a Bow Tie Easy Drawing Tutorial For Kids
You Can See A Preview Of All Of The Drawing Steps In The Image Above.
Draw A Small Triangle For The Tie’s Knot.
Web Click Eraser, Pink Pearl Eraser.
Drawing A Bow Tie Is An Effortless Craft That Anyone Can Master.
Related Post: