Easy Porcupine Drawing
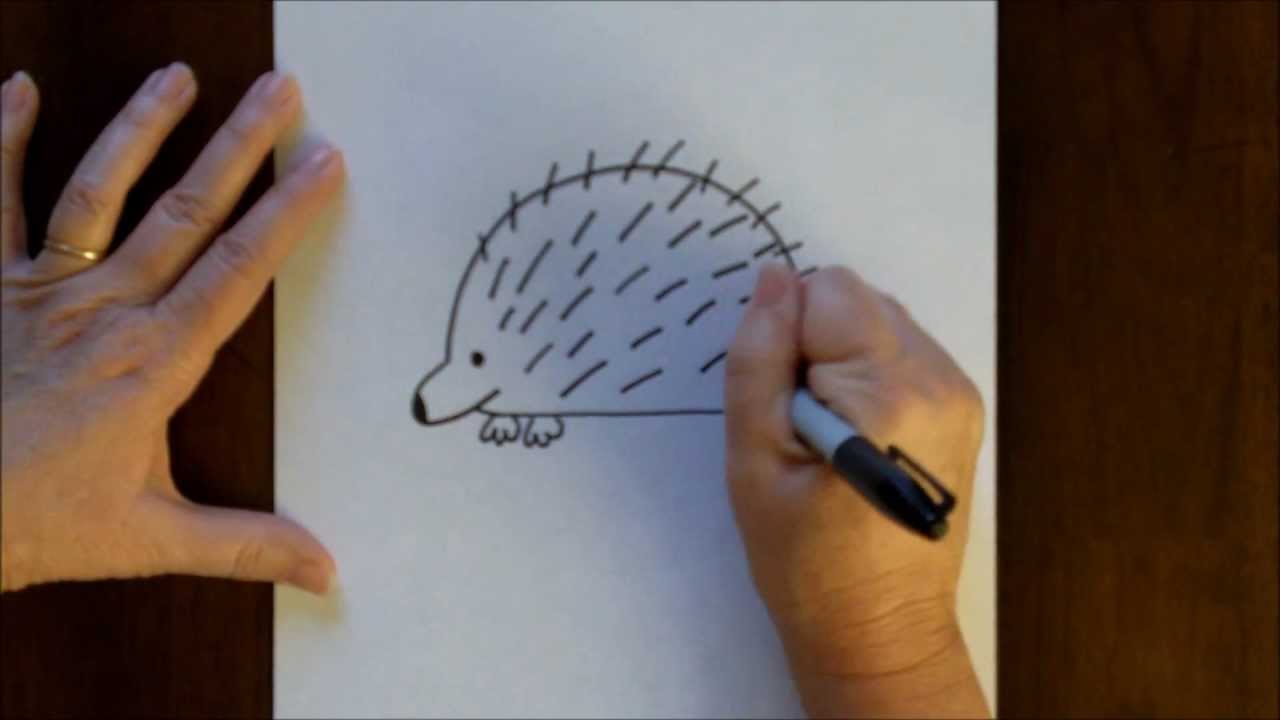
Easy Porcupine Drawing - While most animals will have just one of these traits, the porcupine has the unique distinction of having both. Next add the mouth, nose and outline of the face. What you see above is the porcupine’s head…find the center by drawing a horizontal and vertical line through the center of the rectangle. Draw the front leg and the start of the back leg. This is the porcupine’s nose. Now we can add the spiky back and tail. This tutorial shows the sketching and drawing steps from start to finish. Follow along as we create a colorful and adorable artwork using markers. Start by drawing a large oval shape for the porcupine’s body. First, draw the basic shapes that make up the form of the porcupine. Using the top part of the oval, draw a smaller oval for the porcupine’s head. This will form the porcupine’s face. For example, draw an oval for the porcupine’s body and a rectangle for his head. Finally, add some shading and details to bring your porcupine to life. This is the porcupine’s nose. Click on any image below to view this guide in gallery mode. While most animals will have just one of these traits, the porcupine has the unique distinction of having both. Draw the shape of the porcupine’s body and neck. Web 41k views 11 years ago how to draw forest animal doodles. There are a lot of them. Follow along as we create a colorful and adorable artwork using markers. Paper rubber pencil and fine liner. With a little practice, you will be able to draw a porcupine that looks just like the real thing! To start we draw the head and nose, draw a curved line with a very small strait line joined at the bottom. Add. Draw two ovals for the head and body of the porcupine. This will form the porcupine’s face. Then, add the nose and mouth. Web start by drawing the basic shape of the porcupine’s head. Web april 17th, 2021 | how to draw. Cat, porcupine, bear and bunny. Also included is a downloadable version (near bottom of page). 4.3k views 1 year ago drawing tutorials. You will need a pencil, a black pen, an eraser and paper. Using the top part of the oval, draw a smaller oval for the porcupine’s head. Today, we will be learning how to draw a porcupine step by step and easy! Click on any image below to view this guide in gallery mode. This will serve as the foundation for your drawing. Mark off the width and height of the picture. Draw lightly at first so that you can erase easily if you want to change anything. Learn the basics of porcupines.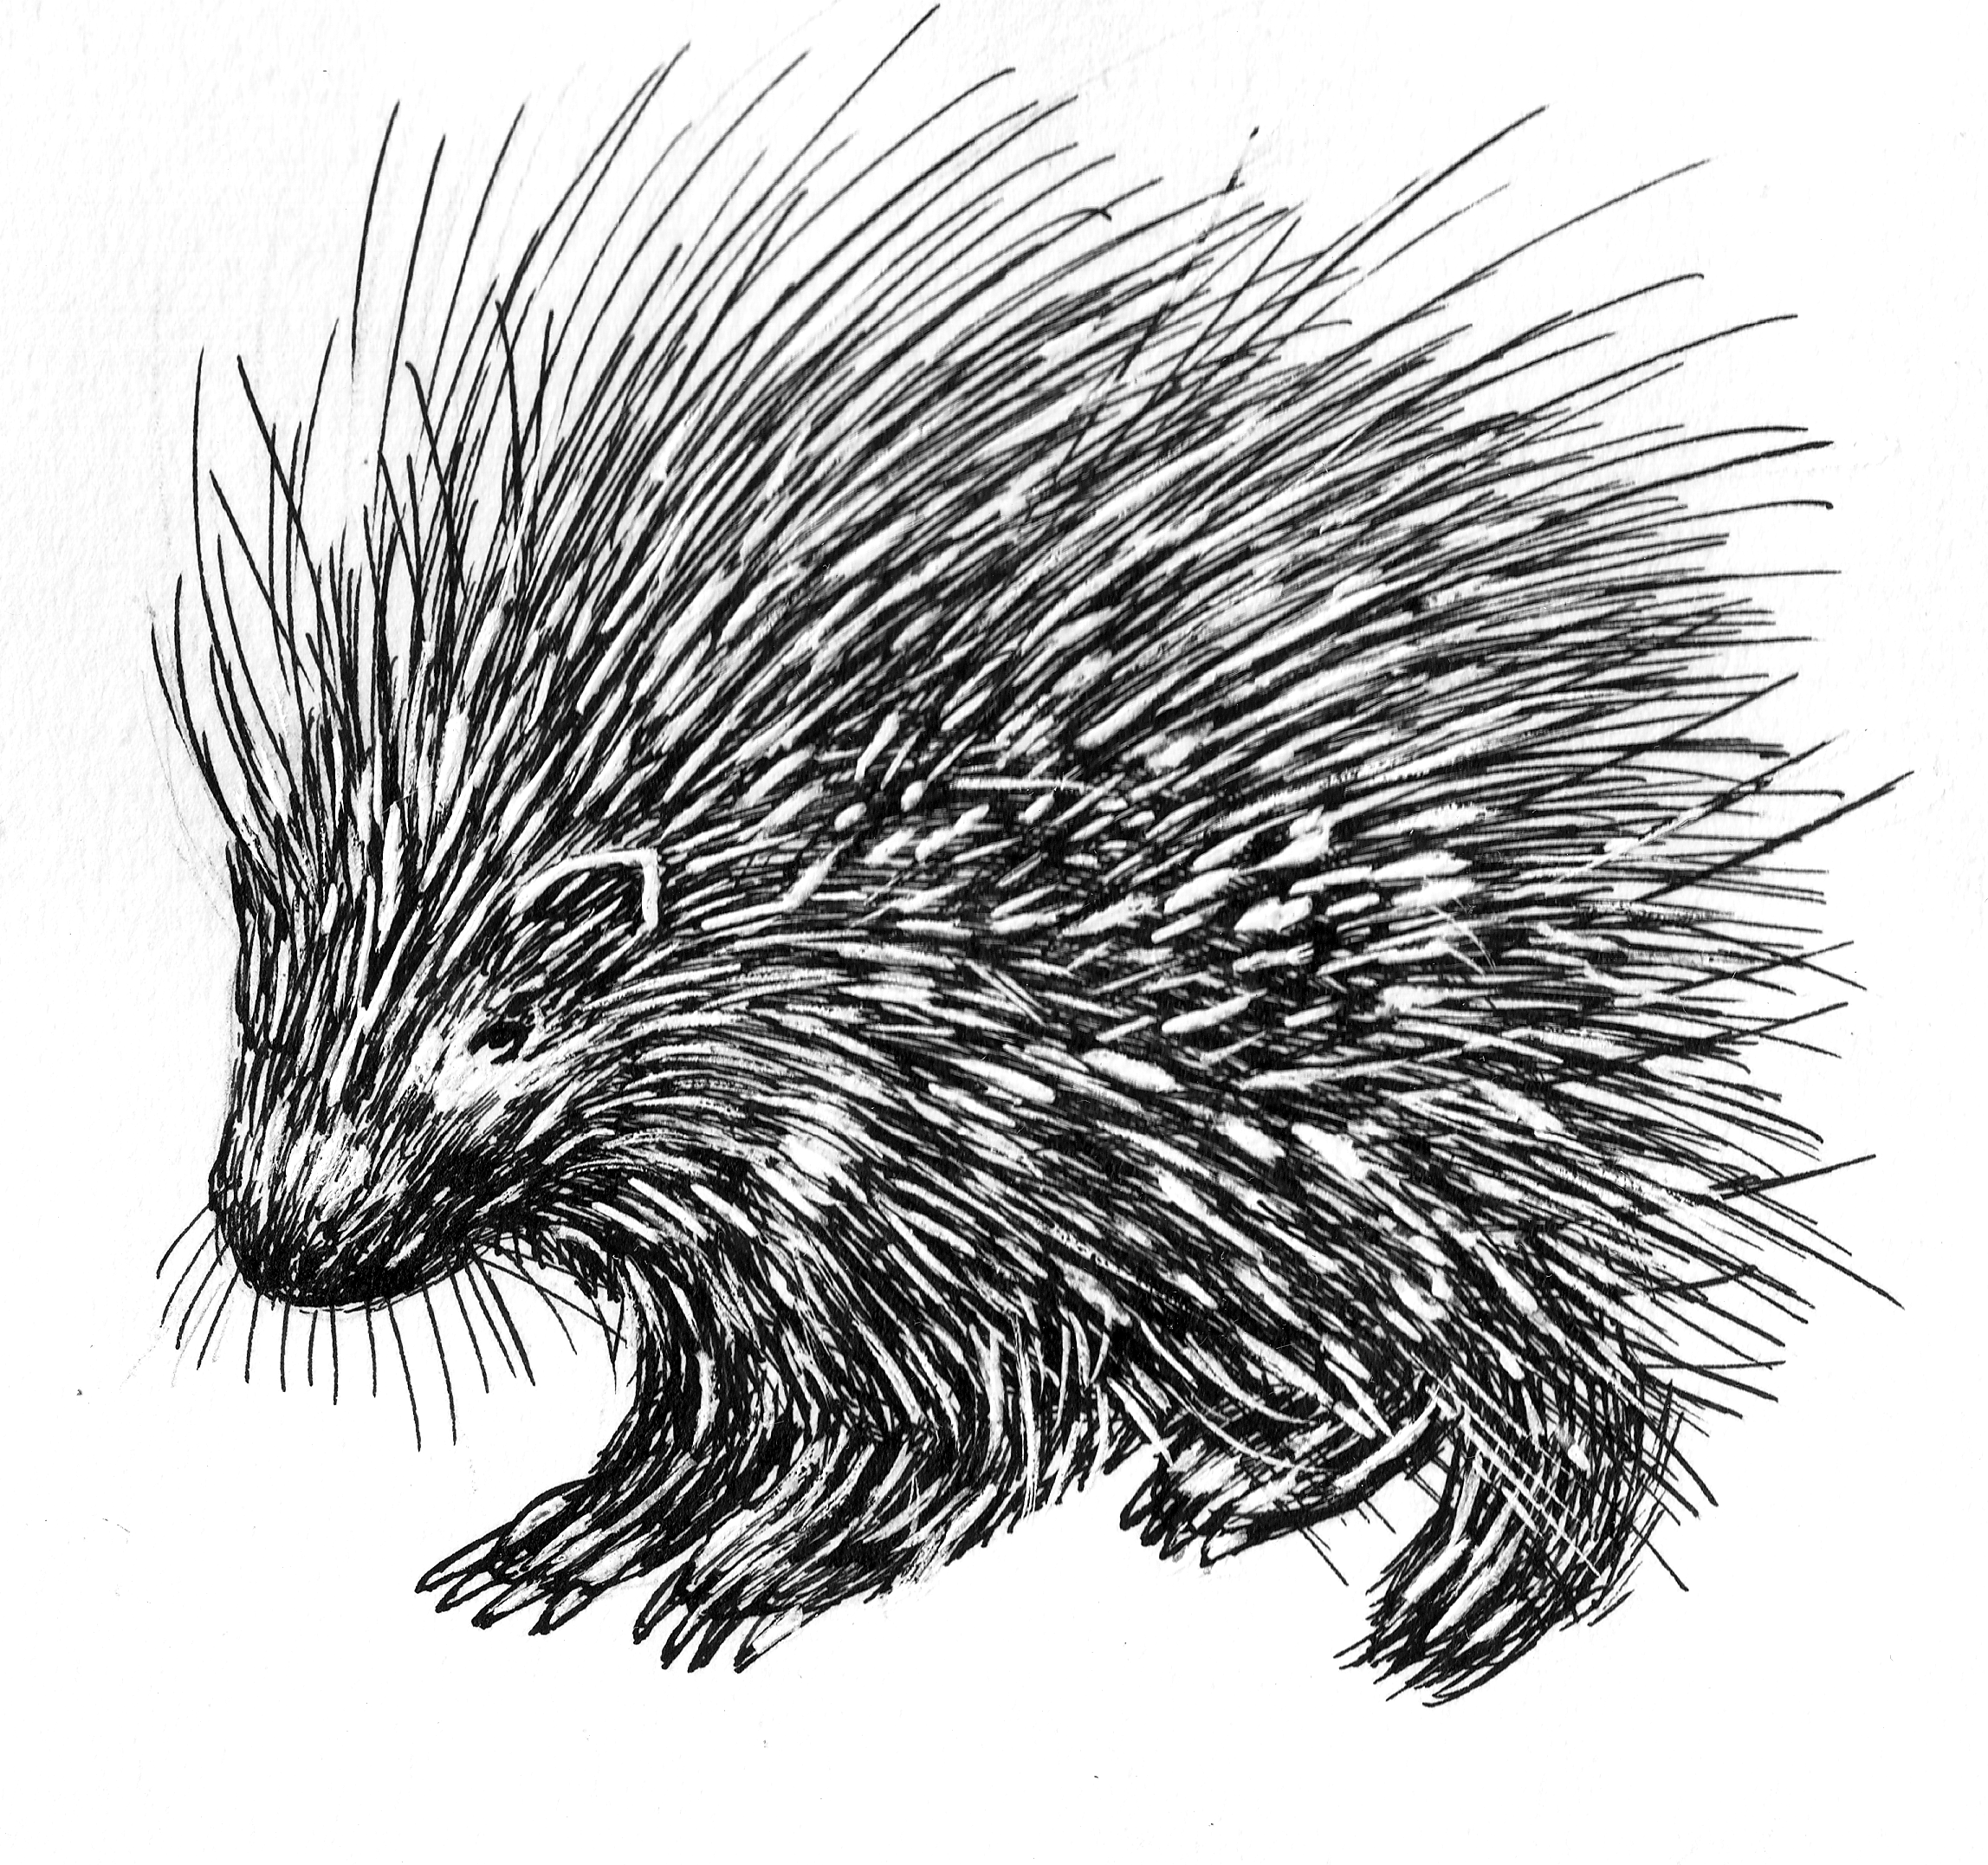
Porcupine Line Drawing at Explore collection of
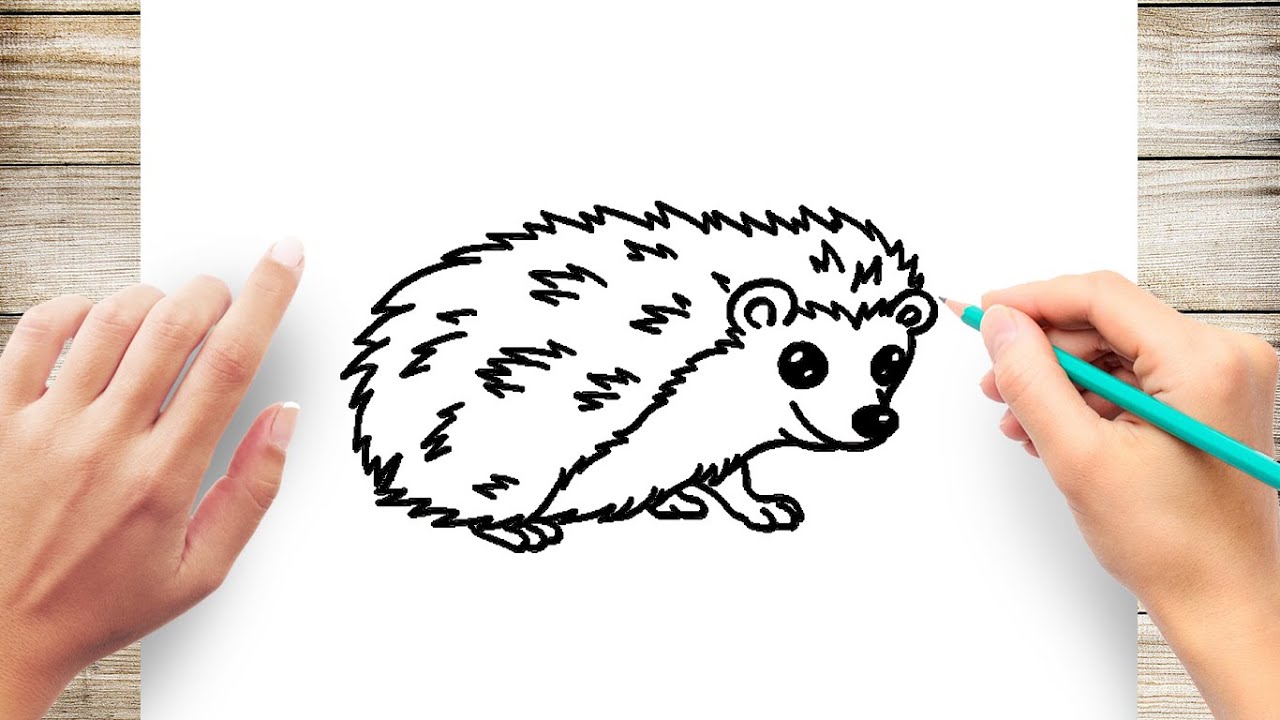
How to Draw A Porcupine Step by Step YouTube
How to Draw a Cartoon Porcupine Simple Drawing Lesson for Kids YouTube
Web Learn How To Draw The Face, Body, Quills And Expression.
With A Little Practice, You Will Be Able To Draw A Porcupine That Looks Just Like The Real Thing!
First, Draw The Basic Shapes That Make Up The Form Of The Porcupine.
Add A Smooth Guideline For Its Tail.
Related Post: