Drawing Jar
Drawing Jar - Begin by drawing a narrow horizontal oval. Rustic, mason and canning jars hand drawn set. Web thanks for watching, like, comment, share, and subscribe!how to draw a jar#jar #masonjar #drawing Extend a curved line downward from each end of the oval. Be sure to leave enough space between each element so. This will be the base of your jar. This can be done by first drawing a circle for the base of the jar and then adding two curved lines for the sides of the jar. How to draw a mason jar step by step for beginners. Web assuming you would like a step by step guide on how to draw a jar: In this tutorial, we’ll show you how to draw a jar step by step, so you can add it to your collection of storage items illustrations. Draw this jar by following this drawing lesson. Draw the sides and bottom of the jar; Once the outline is complete, start filling in the details. Connect the sides to the lid; Whether you’re a beginner or a professional artist, creating a jar isn’t too difficult once you understand the basics. Draw threads for the lid; Or just read one that you like and draw it!) draw an alien doing its hair in the mirror. Web let's draw a jar kawaii. Web one way to start drawing your 3d jar is to sketch out the basic shape of the jar on paper. Rustic, mason and canning jars hand drawn set. Draw a horizontal line across the bottom of the rectangle. Draw the sky filled with 29 flying tacos!!. Web if you’re looking to improve your drawing skills, drawing jars is a great place to start. Begin by drawing a rectangle. Whether you’re a beginner or a professional artist, creating a jar isn’t too difficult once you understand the basics. How to draw a mason jar step by step for beginners. Draw the sides and bottom of the jar; Begin by drawing the outline of the jar. Drawing a jar can be a fun and challenging creativity project. Once the outline is complete, start filling in the details. Jar of jam top drawing. We will keep things simple for this first step of our guide on how to draw a mason jar. Begin by drawing the upper part of the jar of jam which will be part of the neck and the shoulders. In this tutorial, we’ll show you how to draw a jar step by step, so you can add it to your collection of storage items illustrations. These lines form the sides of the lid. How to draw a jar. Draw a horizontal line across the bottom of the rectangle. Once you have the basic shape down, you can begin adding details like the lid and handle. In this video, we show you how you can start your first rea. Make the neck area fairly short as it will have others parts added on top of it along with the lid in later steps. Be sure to leave enough space between each element so.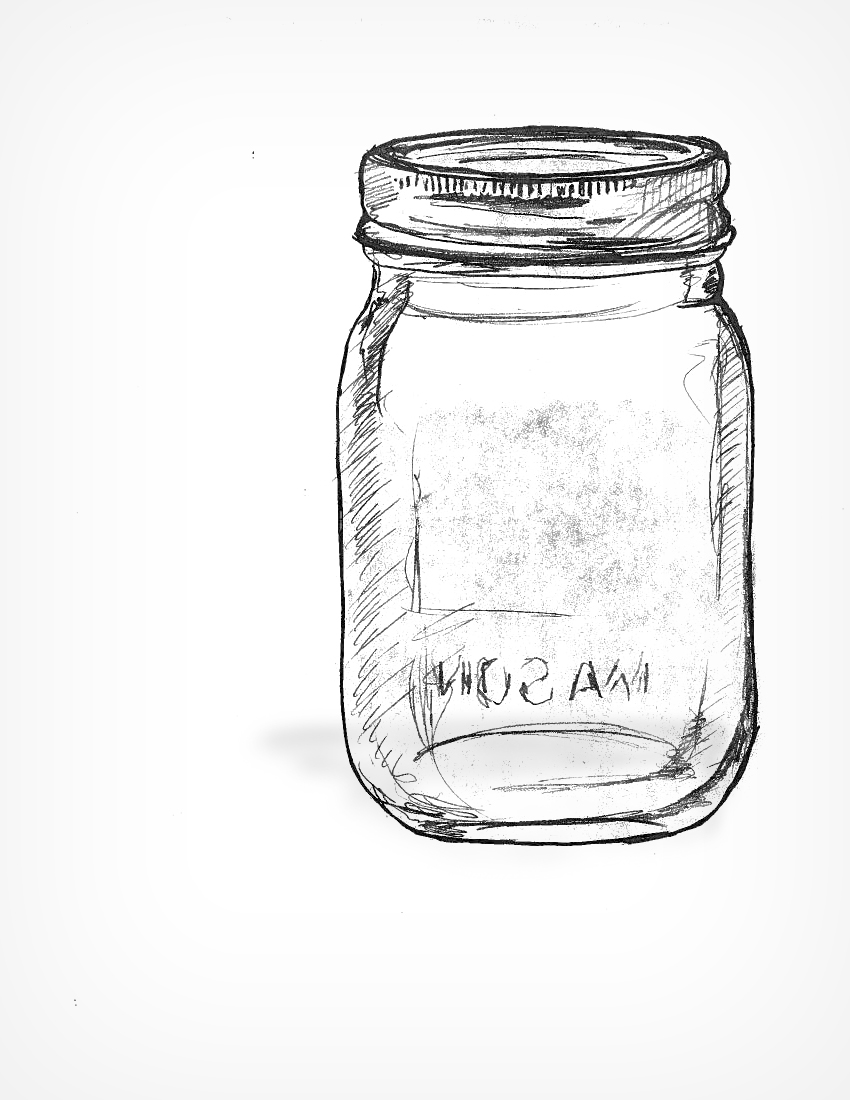
Jar Sketch at Explore collection of Jar Sketch

Mason Jar

How to Draw a Mason Jar Really Easy Drawing Tutorial
Or Just Read One That You Like And Draw It!) Draw An Alien Doing Its Hair In The Mirror.
Web Thanks For Watching, Like, Comment, Share, And Subscribe!How To Draw A Jar#Jar #Masonjar #Drawing
Web Today, I’m Super Excited To Show You How To Draw A Mason Jar, That Classic Glass Container That’s Perfect For Everything From Sipping Lemonade To Catching Fireflies!
In This Video, We'll Walk You Through The Process Of Drawing A Stunningly Realistic Jar.
Related Post: